
Here are the 'mark your calendars NOW' events that bring us climbers together for fun, friends, ice climbing, and usually lots of beer. Check out the starred events to check out Furnace Industries and our gear in person! (Pro Tip: There’s usually lots of freebies.)
Hosting or know of an event that’s not on our list? Please let us know and we will add to the list and help promote your event!
NORTH AMERICA

Cookout Ice Fest November 28-30 2025, Part of the Wyoming Ice Fest / Montana Ice Festival. Clinic Registration open Sept 15 2025. Cooke City, MT
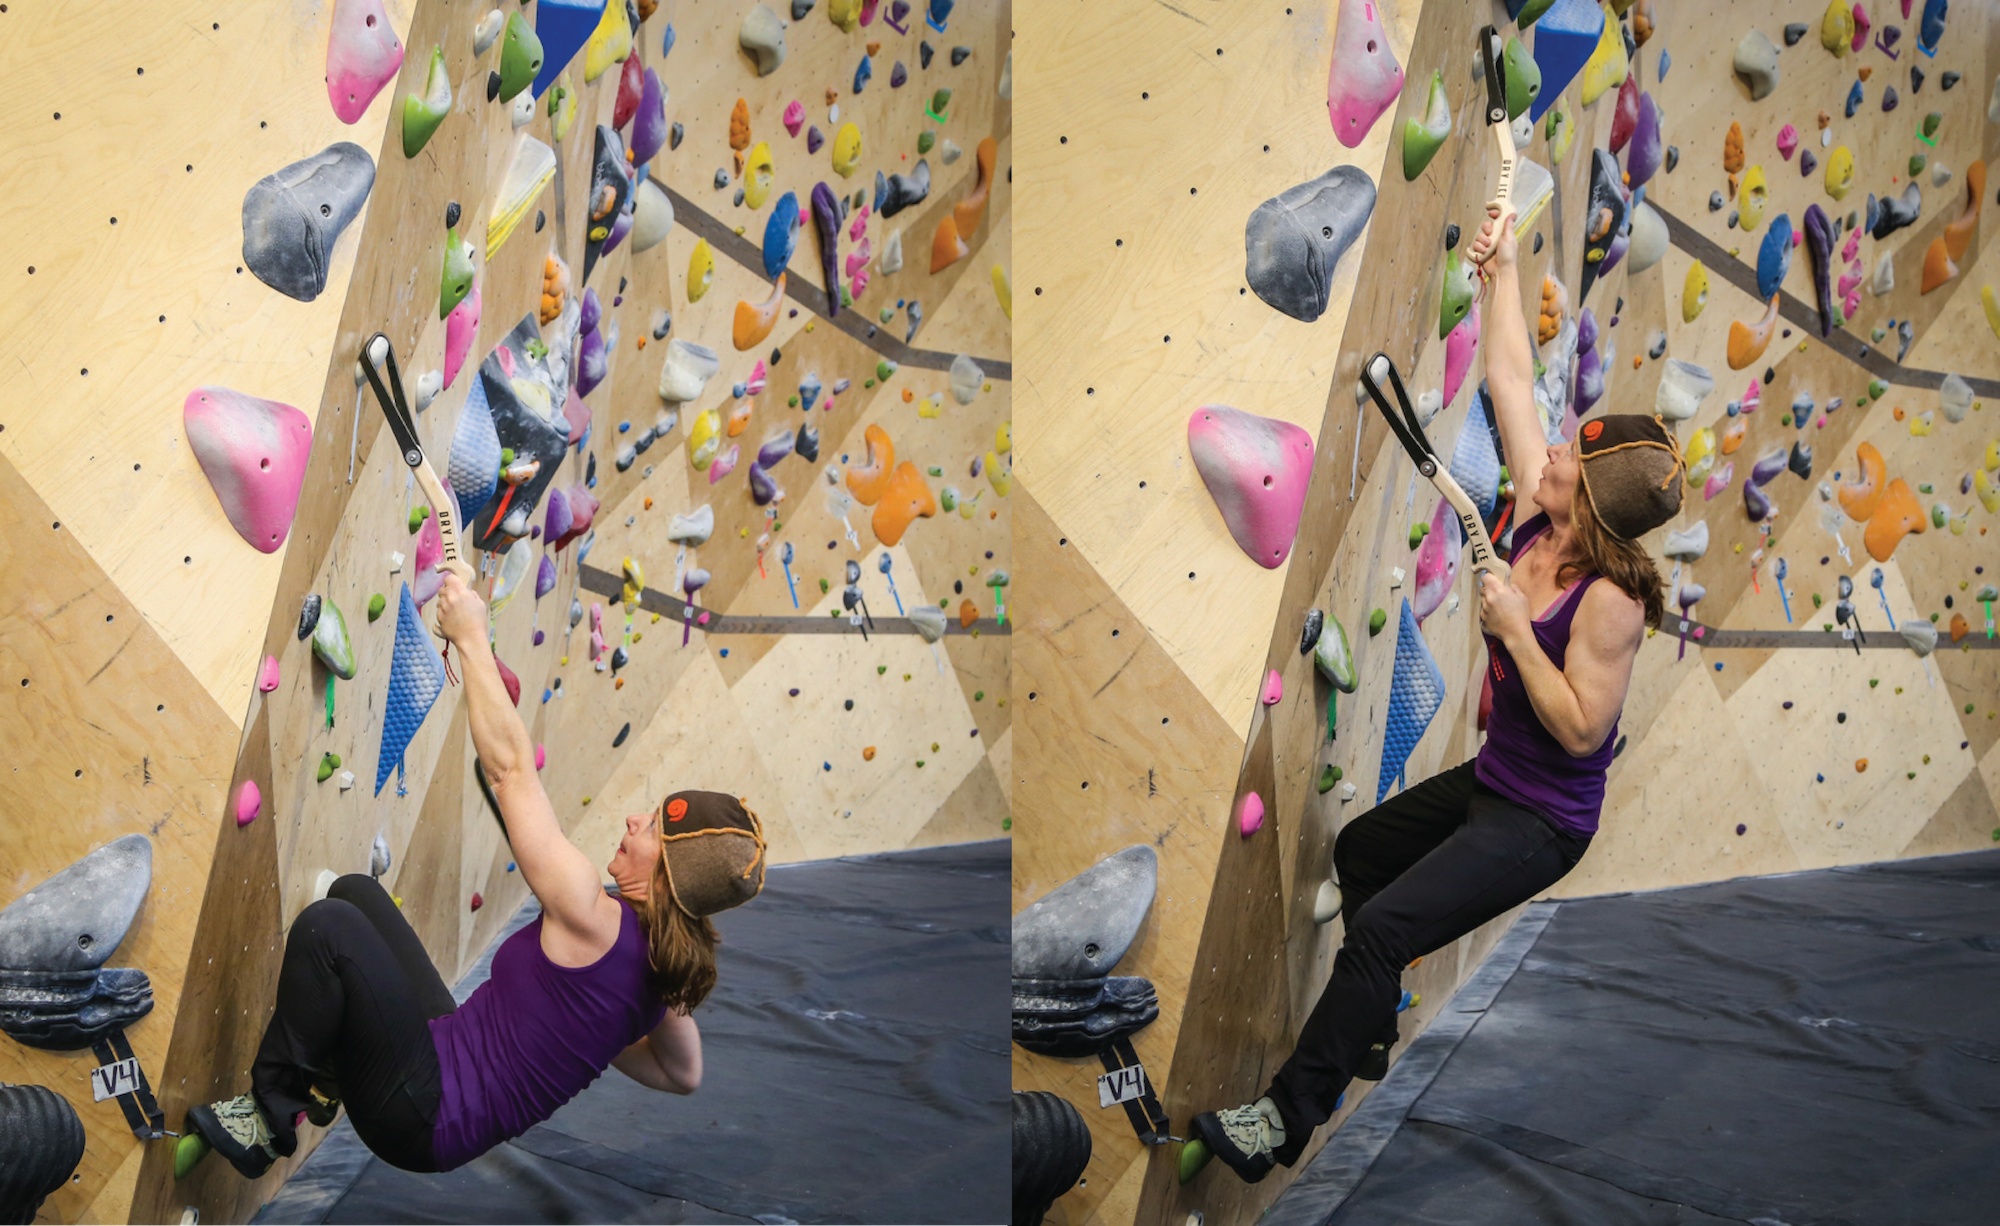
*Michigan Ice Fest TOUR! The MIF is holding an Ice Fest Tour ahead of the Main Event in February to get people stoked and spread the Gospel of Ice. Be sure to hit up these locations for the fun AND to try out the sets of DRY ICE Evolutions they’ll have onsite. Details to be updated as we get them.
Dates / Locations:
December 3rd thru 8th
Dec 3rd 2025 - Elev8 Traverse City, MI
Dec 4th 2025 - Inside Moves Grand Rapids, MI
Dec 5th 2025 Climb Kalamazoo Kalamazoo, MI
Dec 6th 2025 Planet Rock Madison Heights, MI

Bozeman Ice Festival December 10-14 2025. Bozeman, MT

Wyoming Ice Festival January 1-4 2025. Cody, WY

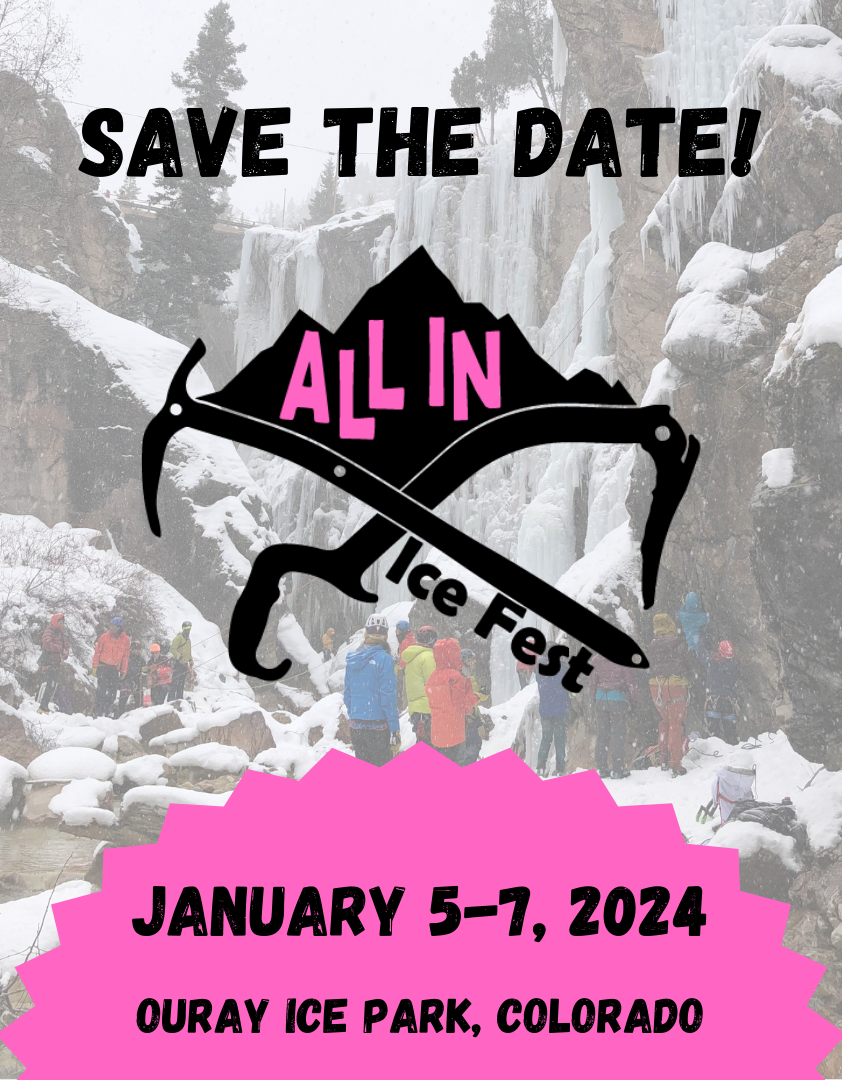
All In Ice Fest January 9-11 2026. Ouray, CO

Sandstone Ice Festival January 9-11 2026. Sandstone Ice Park, Robinson Quarry Park, Sandstone, MN

*Ouray Ice Festival and Competition January 22-25 2026. Ouray, CO
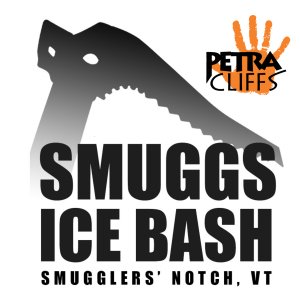
Smuggler's Notch Ice Bash January 30 - February 1 2026. Smugglers Notch, VT

Mt. Washington Valley Ice Festival February 5 - February 8 2026. North Conway, NH

Winona Ice Clmbing Festival January 29 - February 1 Winona Ice Park Winona MN

Duluth Ice & Mixed Fest February 7 2026. Duluth, MN (Also info on the DCC FB Page.)

Lake City Ice Climbing Festival February 7 2026. Lake City Ice Park, Lake City, CO
Catskill Ice Festival January 30 - February 2 2026. New Paltz, NY

Adirondack International Mountainfest February 14-16 2026. Keene Valley, NY

Michigan Ice Fest February 11-15 2026. Munising, MI

Valdez Ice Fest February 19-22 2026. Valdez, AK

Festiglace February 18-22 2026. Pont-Rouge, QC, Canada

YEG Ice Fest & UIAA Ice Climbing World Cup February 26 - March 1 2026 Edmonton, AB, Canada

Adirondack Queer Ice Fest February TBD 2026. Lake Placid, NY

Peabody Ice Fest February 21? 2026. Fenton, MI

Madawaska Ice Fest Feb 20-22? 2026. Maynooth, Southern Ontario, Canada
Ascent NB Ice Festival February TBD, 2026. Hatchery Ice Crag, Parlee Brook Amphitheater Ice Cave

Nipigon Ice Festival 40th Anniversary! March 6-8. Nipigon, Ontario Canada
Lillooet / West Coast Ice Climbing Festival Run by Climb On Equipment. February 14th - 16th 2026 Lillooet, British Columbia, Canada
INTERNATIONAL

Remarkables Ice & Mixed Festival 6-8 August 2025 Queenstown, New Zealand


Cogne Ice Opening 11-14 December Cogne - Lillaz - Valle D’Aosta, Italy
Eiskletterfestival Osttirol 9-11? January 2026. East Tyrol Ice Park Tauer, Austria
Ice Climbing Ecrins 15-18? January 2026 L'Argentière la Bessée, France